


Transforming Bespoke Letterpress Linen Napkins into Stunning Linen Cushions
Looking for a delightful craft project that combines elegance and creativity? Look no further! In this blog post, we'll show you how to transform Bespoke Letterpress linen napkins into stunning linen cushions for your home. With just a few easy steps and some imaginative flair, you can give your living space a touch of sophistication while showcasing the beauty of these 100% linen napkins.
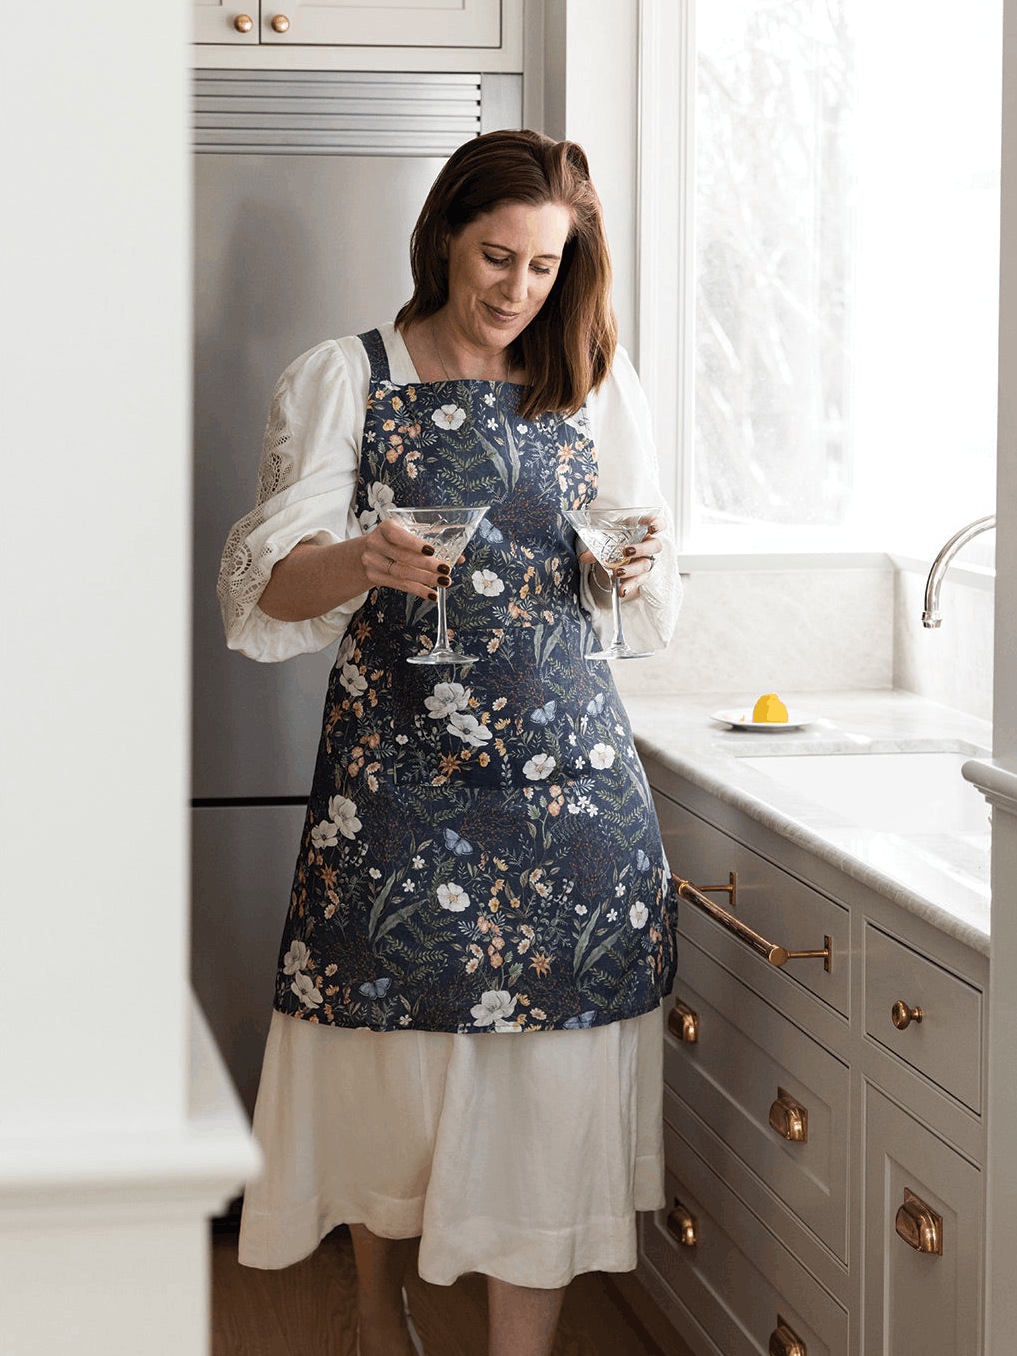
As our Linen Napkins are perfectly square at 50cm x 50cm they make the perfect size and proportions for stunning linen cushions for your home!
Materials Needed:
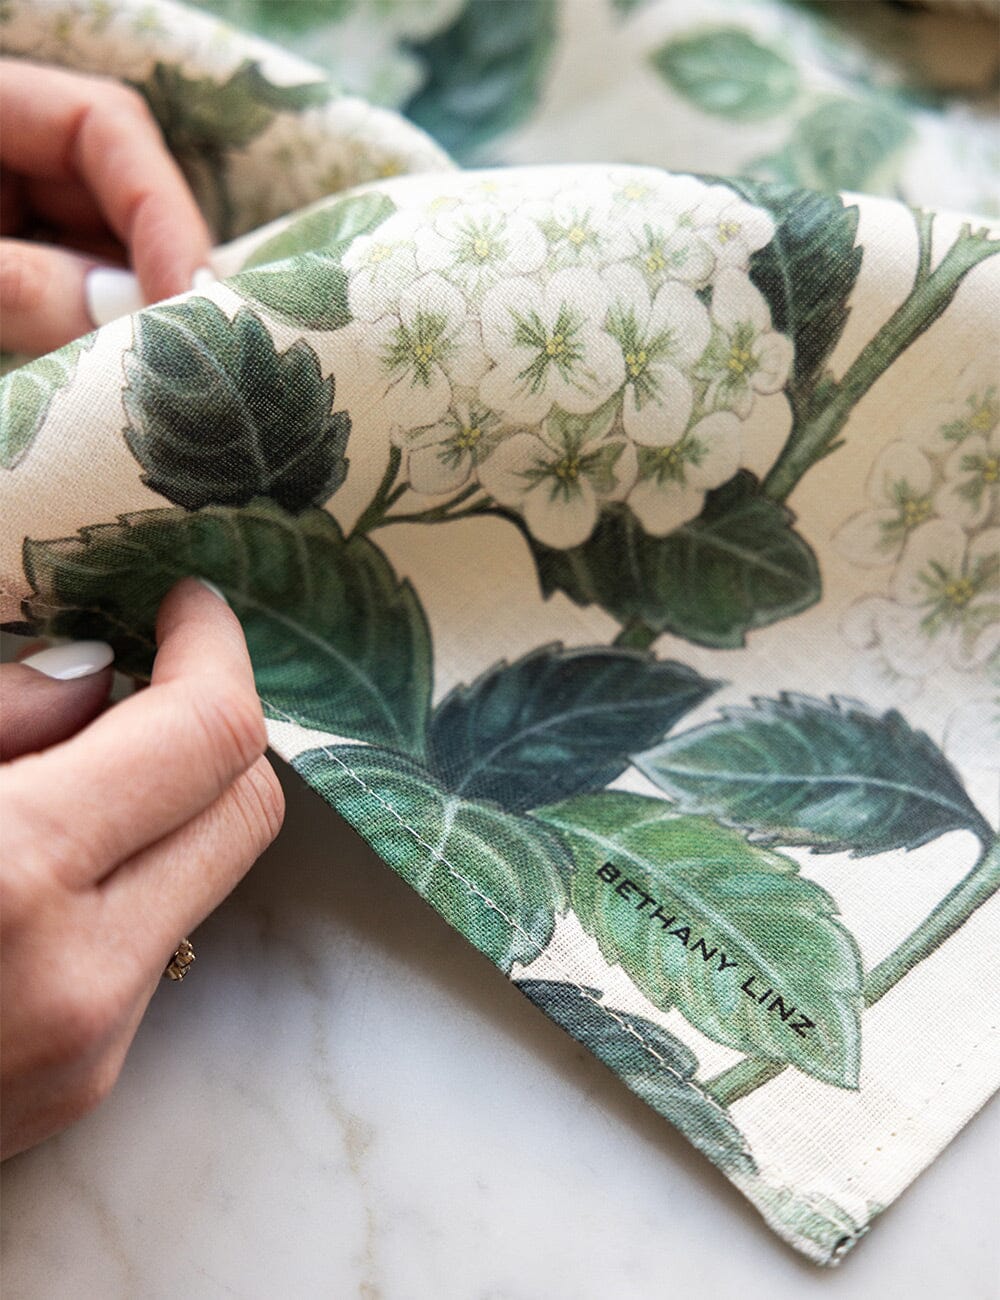
- Bespoke Letterpress linen napkins (select designs that complement your home's color scheme and aesthetic)
- Plain or patterned fabric for the cushion backing
- Scissors
- Sewing machine or needle and thread
- Ruler or measuring tape
- Pins
- Fabric chalk or pencil
- Cushion inserts
Step 1: Selecting the Perfect Linen Napkins
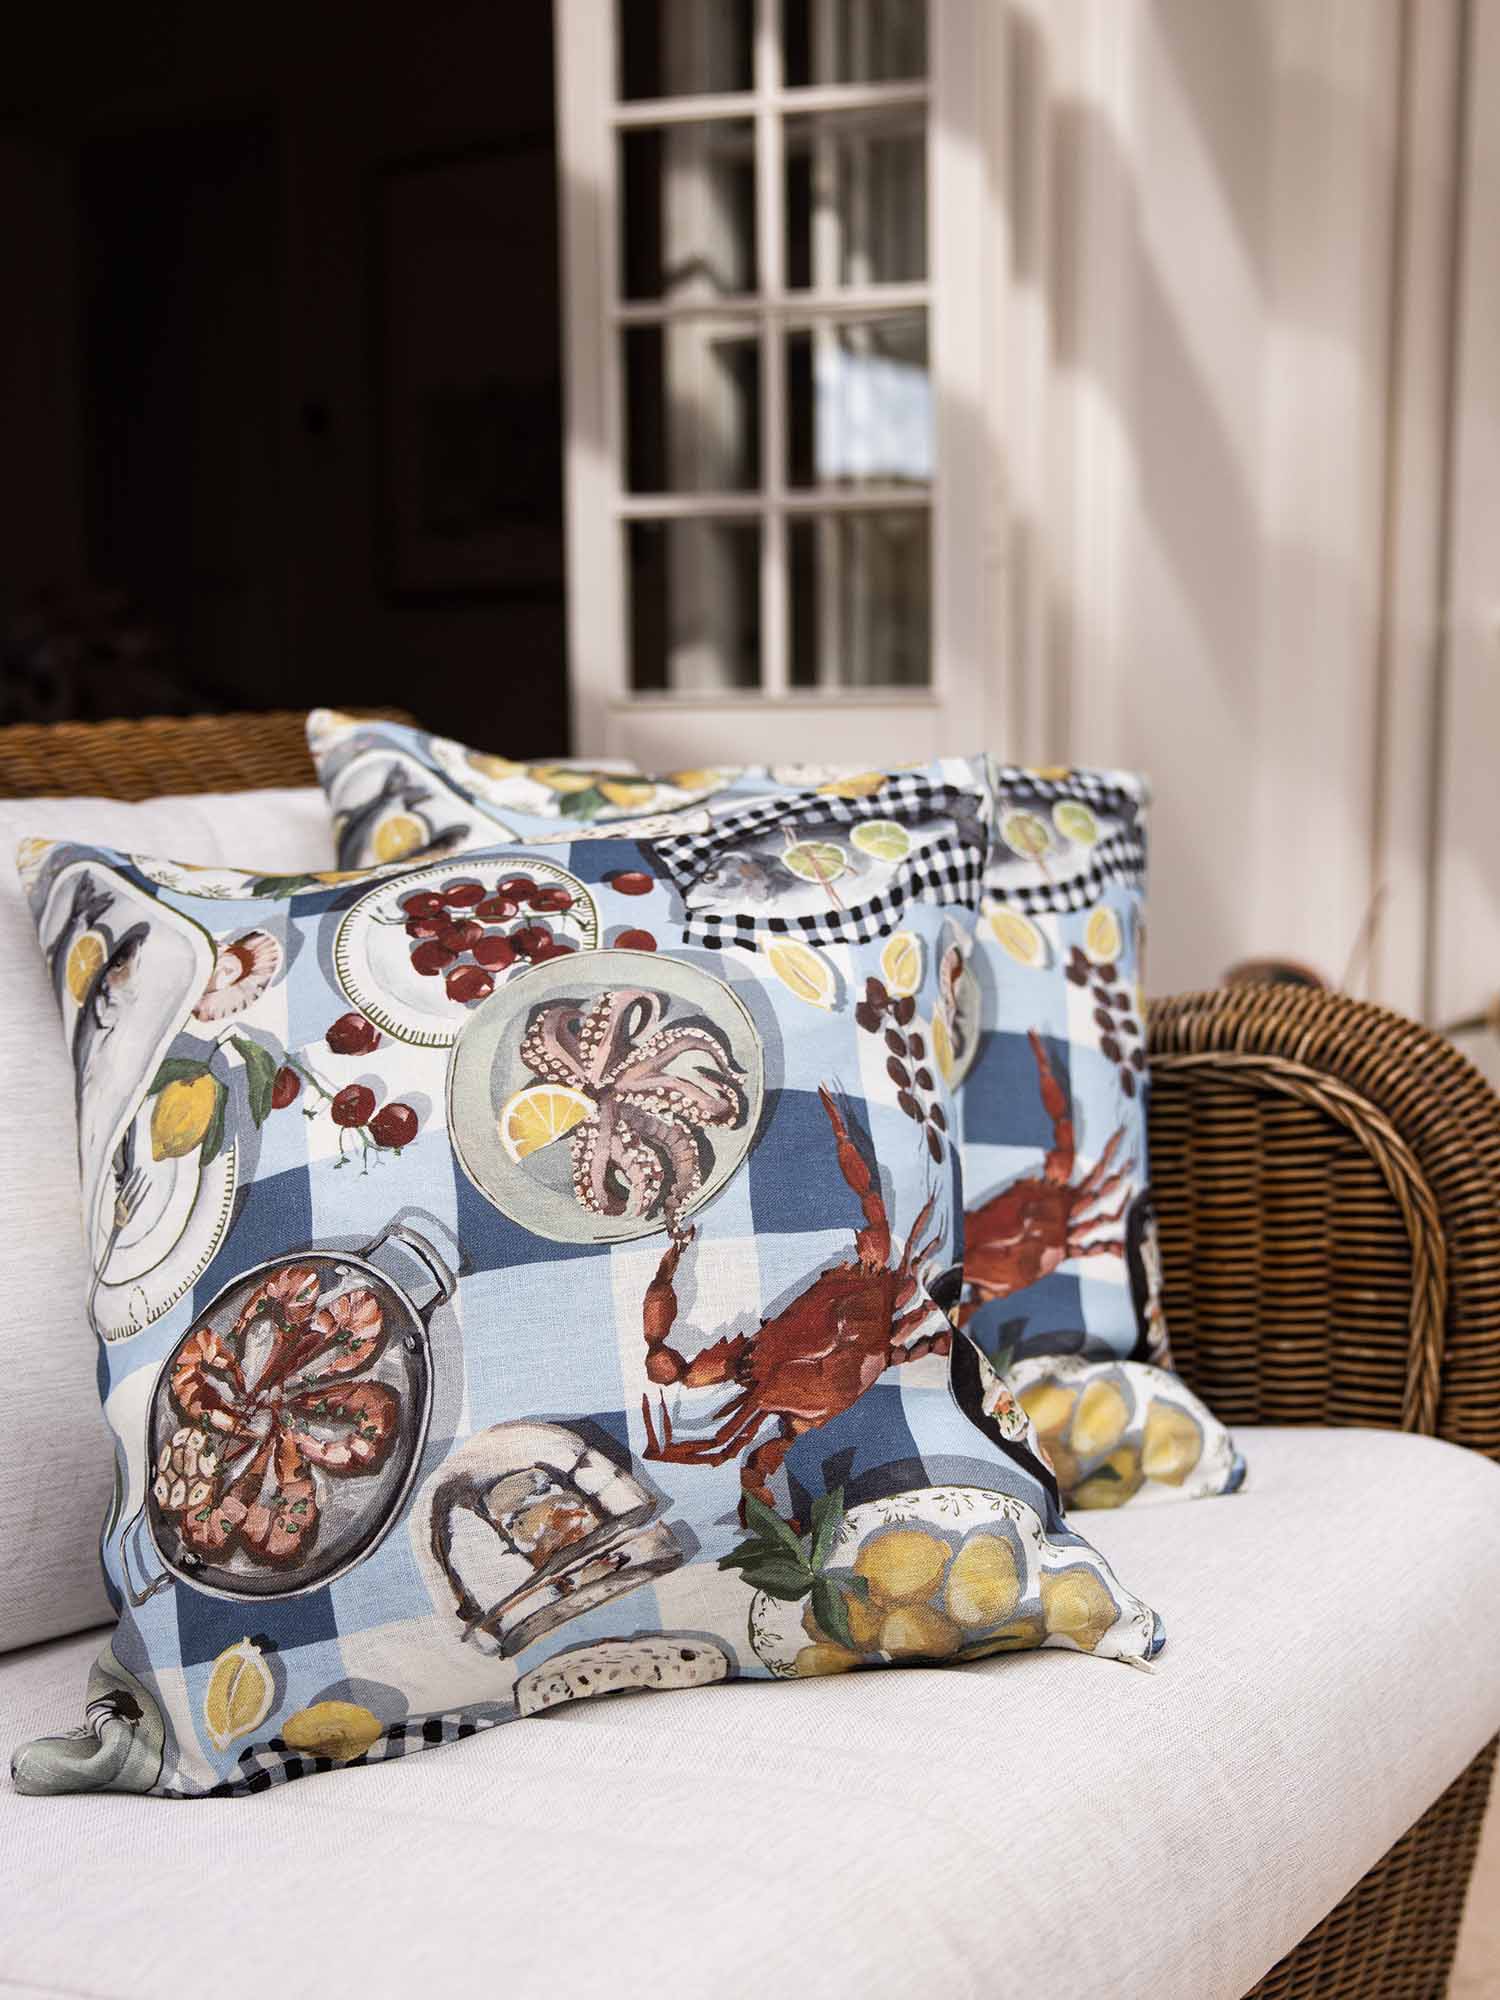
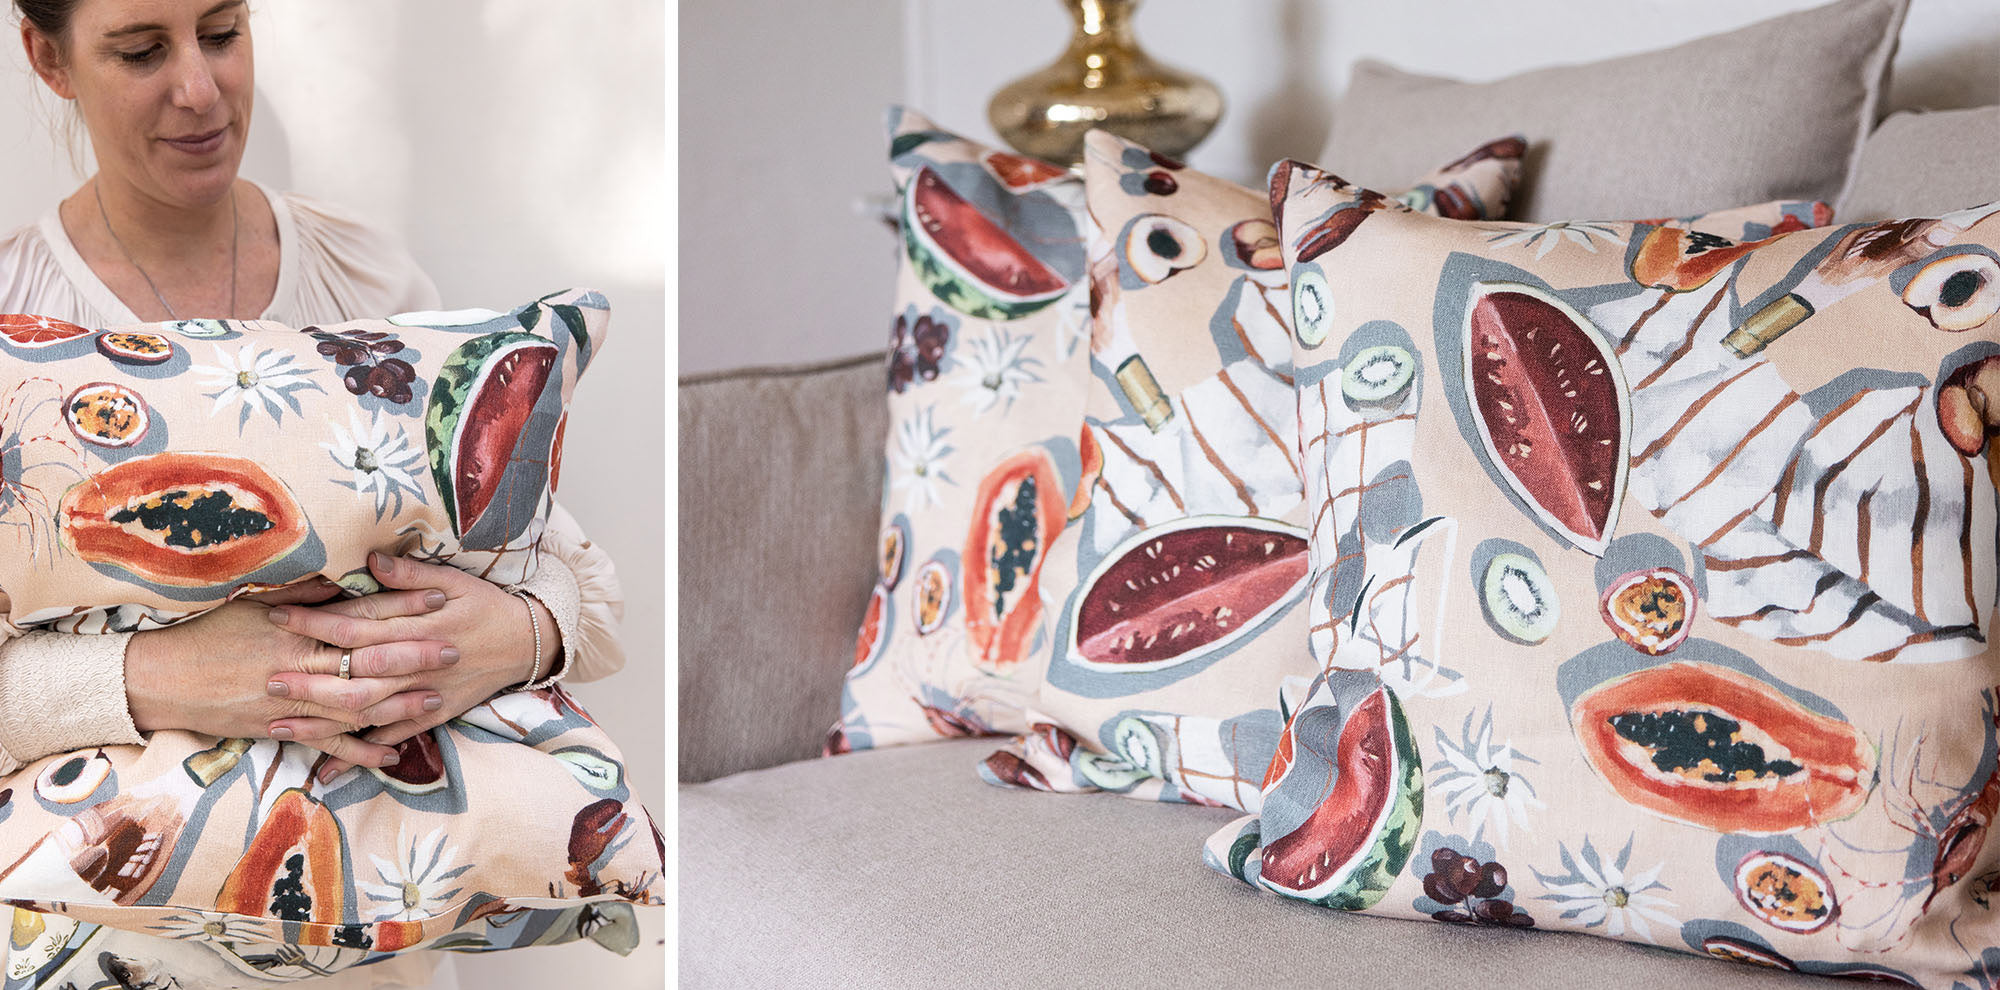
Begin by choosing from our selection of Bespoke Letterpress linen napkins for your cushion project. Consider the size, pattern, and color of the napkins, ensuring they match your home decor beautifully. Whether you opt for the whimsical Crab & Squid napkins or the softer, pink-hued Summer Picnic designs, each napkin box comes with six napkins. You can choose to create six single-faced napkins or three double-faced ones for added versatility!
Step 2: Preparing the Back Fabric
To turn your linen napkins into full-fledged cushions, you'll need two napkins per cushion. Alternatively, you can choose a coordinating backing fabric to maximize the visual impact. Measure and cut the backing fabric to match the width and length of our lovely napkins.
Step 3: Pinning and Sewing
Take one Bespoke Letterpress linen napkin and place it right-side up. Align the corresponding piece of backing fabric on top, right-side down. Pin the two pieces together along the edges, ensuring they stay in place during the sewing process. Remember to leave a small opening (about 12-15cm) on one side to insert the cushion later.
Using a sewing machine or hand sewing, stitch along the pinned edges, leaving the small opening unsewn. Employ a ½ inch seam allowance for the best results.
Step 4: Turning and Stuffing
After sewing, carefully trim any excess fabric from the edges. Now, gently turn the cushion cover inside out through the opening, ensuring the corners lie flat. Next, it's time to insert the cushion. Take your cushion insert and place it through the opening, adjusting it until it fills out the cover evenly.
Step 5: Closing the Opening
Once the cushion is inside, fold the raw edges of the opening inward and pin them closed. Use a needle and thread or a sewing machine to sew the opening shut securely, ensuring your stitches match the existing seam for a seamless look. For added convenience and style, consider sewing a zipper for a more adjustable opening.
Step 6: Final Touches
With your Bespoke Letterpress linen napkins now transformed into elegant cushions, take a moment to smooth out any wrinkles and ensure the cover looks perfect. Fluff the cushion to distribute the filling evenly, and voilà! Your linen cushion is ready to grace your sofa, chair, or bed with its newfound beauty.

So, gather your materials, unleash your creativity, and revel in the satisfaction of creating stunning 100% linen cushions at a fraction of the price of buying new cushions for your home!

Leave a comment
This site is protected by hCaptcha and the hCaptcha Privacy Policy and Terms of Service apply.